Installing Arch Linux Using Arch Anywhere – Part 2
This post is 2nd part of Arch Linux installation guide and as you may read the first part, you know that we want to do it by Arch Anywhere and now, if you have downloaded ISO from Arch Anywhere website, mount it and follow the below steps. I’ll install Arch Linux on a virtual machine, you can do it on virtual machine or physical machine.
Step 1:
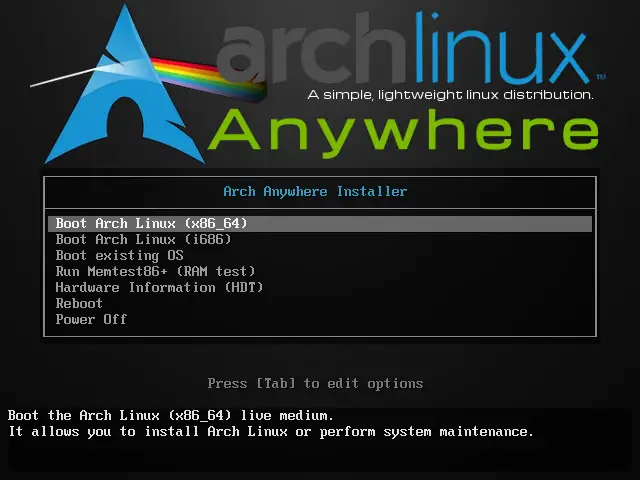
Boot your machine by ISO or CD that you have burned ISO on it. You will see the below menu on your screen:
Choose first item, if you have x64 CPU otherwise choose second item.
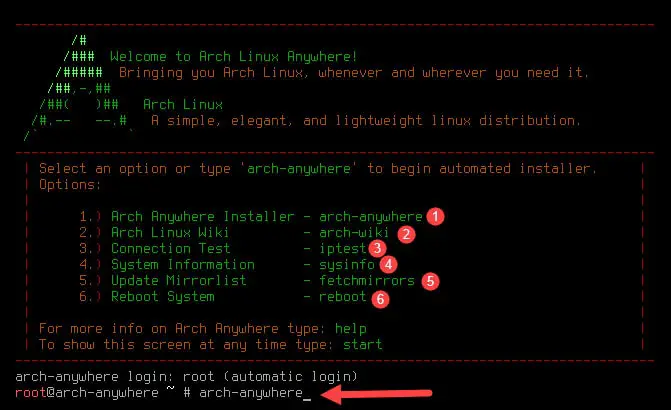
Then a minimal image of Arch Linux will be loaded to the memory and you will see another menu. The menu will be same as the below:
Menu shows 6 items and you should type the command to run specified scripts:
- arch-anywhere: This is first item and default item for automated installation, I’ll explain that in the continue.
- arch-wiki: Arch Anywhere offers an Wiki to read and find some instruction for installing or configuring packages. This will be reviewed in another post.
- iptest: This command will test your connection, it’s necessary because there is no offline repository for Arch Linux and package installation needs to Internet connection.
- sysinfo: This is so clear, it will show you some hardware information. Actually, detected hardware by the live version.
- fetchmirrors: Installer trying to find best and fastest mirror to download and install packages, it can be done before main installation.
- reboot: You don’t want read other steps and don’t want to install Arch Linux, so type reboot and eject CD/ROM.
If you want to continue and see what will happen, type “arch-anywhere” and press the Enter key.
Step 2:
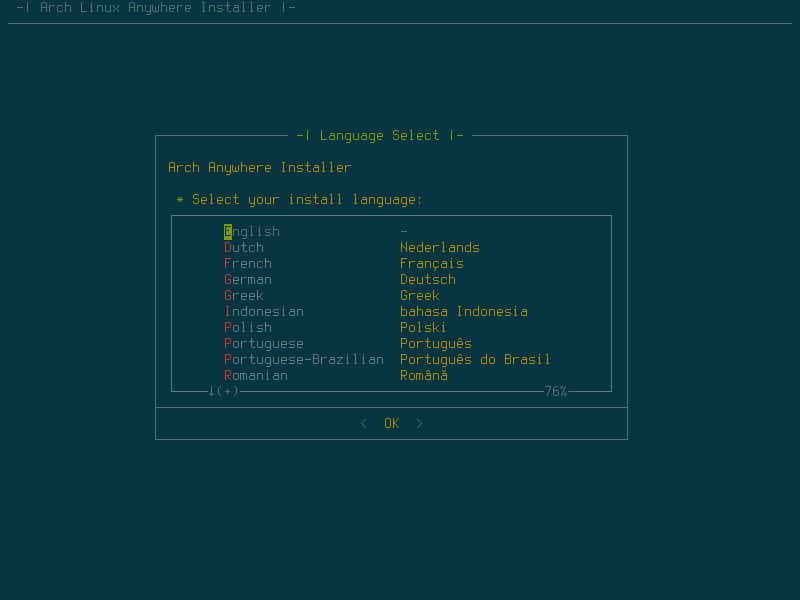
Same as other installers, this installer will check something and ask you to choose some options.
Choose install language:
After choosing installer language, it will prompt you to confirm starting the installation:


