Install Android-x86 v4.0 RC1 on Oracle VirtualBox
Android-x86 is a Linux-based operating system for mobile devices such as smartphones and tablet computers. It is developed by the Open Handset Alliance led by Google. Android supports ARM,MIPS and x86 platforms.
Because Android has been developed on x86 platform, we can install it on some virtualization software as a virtual machine such as VMware Workstation, Oracle VirtualBox, QEMU and etc.
In this post we will install Android x86 v4.0 RC1 (Latest version) on Oracle VirtualBox, we need to a source so please download it from this link: http://code.google.com/p/android-x86/downloads/list
Please download android-x86-4.0-RC1-eeepc.iso, because we can have network connectivity just on this.
After download completed, run your VirtualBox and if you don’t have it, you can download it form this link: https://www.virtualbox.org/wiki/Downloads
Android-x86 Installation Steps
1. Click on New in VirtualBox for create a new virtual machine.

3. Android need to 256 MB memory but 512 MB is recommended.

4. We need a medium for saving Android files on that, so like other virtual machines, we add a hard disk to it.

5. Select VHD hard disk type, I will explain about this selection on next steps.

6. Select “Dynamically allocated” because a dynamically allocated virtual disk file will only use space on your physical hard disk as it fills up.

7. Default location for virtual hard disk file is fine and Android needs to maximum 1 GB space but 2 GB is recommended.

8. After checking the summary click on create and your hard disk file will be created.

 9. You can see the summary of new virtual machine, please click on create-to-create new virtual machine.

10. Your virtual machine is created and don’t start your virtual machine because some settings must be changed.

11. Click on “Settings” button and click on “Display”, set video memory to 8 MB or above.

12. Select “Storage” and attach downloaded ISO file to CD/DVD drive.

13. Select “Audio” and in audio setting select “SoundBlaster 16” as audio controller. The Android-x86 website says that only SoundBlaster 16 works as a VirtualBox soundcard for Android.

14. We created virtual hard disk file as a VHD file because we must change some things in startup, “init.sh” runs on startup but after booting up we can’t change it because it’s read only file and root user is disabled on Android. So, in the next step, we attach VHD file to Windows and create a new simple volume on it.
We can install Android x86 on a volume with ext2, ext3, fat, ntfs and fat32 file system so we can edit files on it after installation. For new simple volume, leave all settings to default.

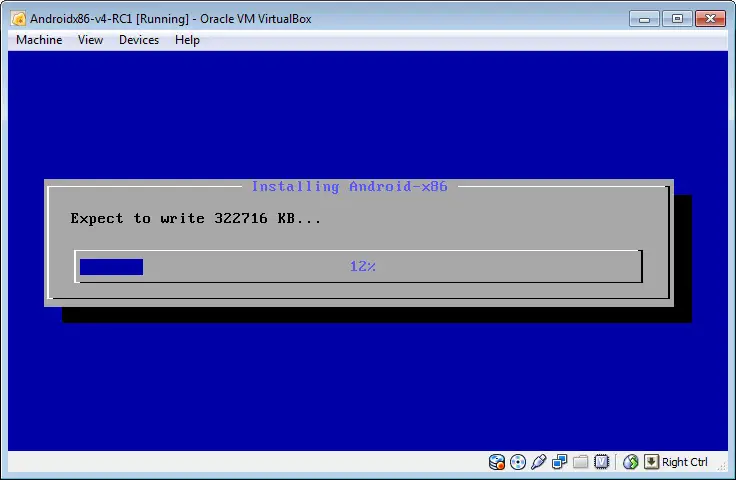
15. After that, detach VHD file and power on your VM. On boot menu, select “Installation-Install Android-x86 to hard disk”.

16. After load modules, you must select a volume for install Android or create/modify partitions, in this case we want to install Android on NTFS volume that created in pervious steps.

17. Please select “Do not format” because this volume formatted by us.

18. Installing boot loader is optional but install it is recommended. Because this volume formatted as a NTFS partition, installer ask a question about creation an item in boot loader for windows, please select “No” for answer.

19. Another question, if you are a developer, it’s recommended but if you want to test Android, select “No”.

20. Installer starts to be copying files to volume, after copy is completed, installer ask a question from you about creation a disk image for save the user data, please select “Yes”.

21. After installation is completed, please power off your VM and attach VHD file to Windows, unfortunately network settings do not save and after reboot Android loads with default settings.


So, attach the VHD file to Windows and go to this address: <VHD Drive>:\android-4.0-RC1\system\etc\ and open “init.sh” to a text editor.
Go to end of this file and add the below lines to configure network on startup:
For use DHCP:
dhcpcd eth0
setprop net.dns1 <Your DNS address>
For manual configure:
ifconfig eth0 <IP address> netmask <Subnet mask> up
route add default gw <Default gateway> dev eth0
setprop net.dns1 <Your DNS address>
Save “init.sh” and detach your VHD file and then you can power on your VM.
22. In first time you see the below figure and you must set some things for your Android.

23. Open Android browser and if your network settings are properly, you see the below figure.

Unfortunately, your sound device not working on Android, if you need to sound, you can download a customized Android image from this link:
http://www.buildroid.org/Download/android-x86-vm-20120130.iso.gz
This image doesn’t need to create VHD hard disk and also Ethernet settings are available in Android settings.

Also, you can see all steps on this video:
Further Reading
Connection (Session) Duration Report: Best Solution for VMware Horizon View 7.x or Newer
HBA Port and Linux: What’s The Best Solutions to Disable?
vSphere 7 Upgrade Series – Part 1: Define Upgrade Path


